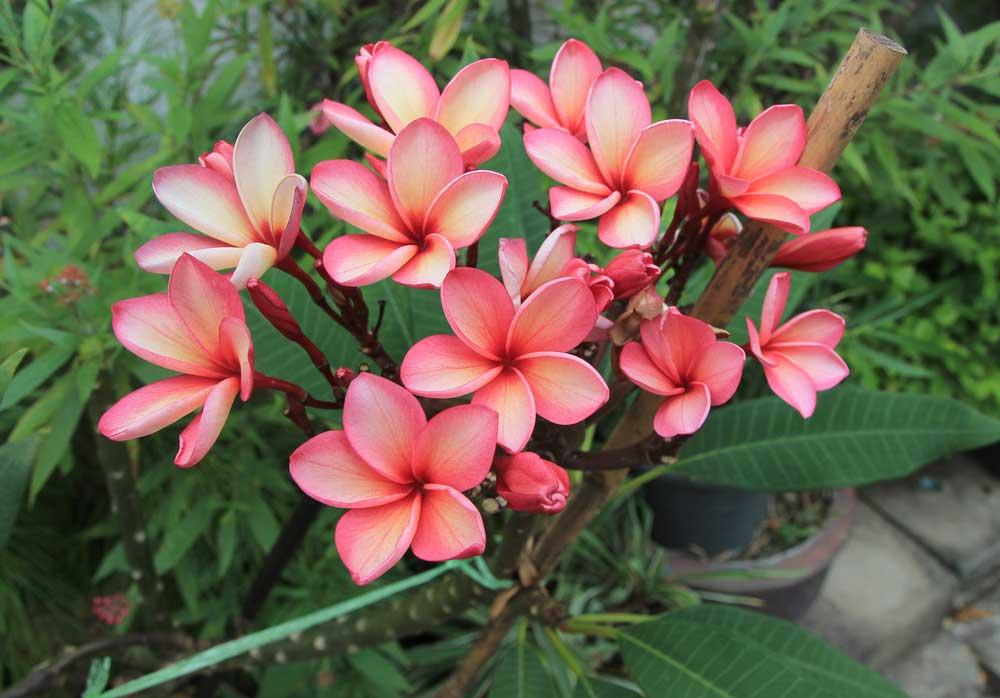
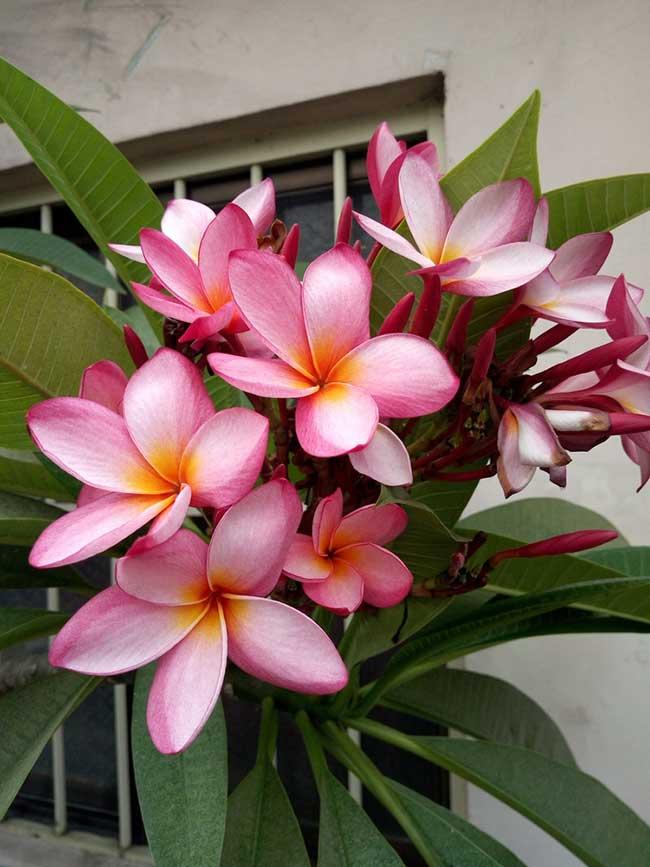
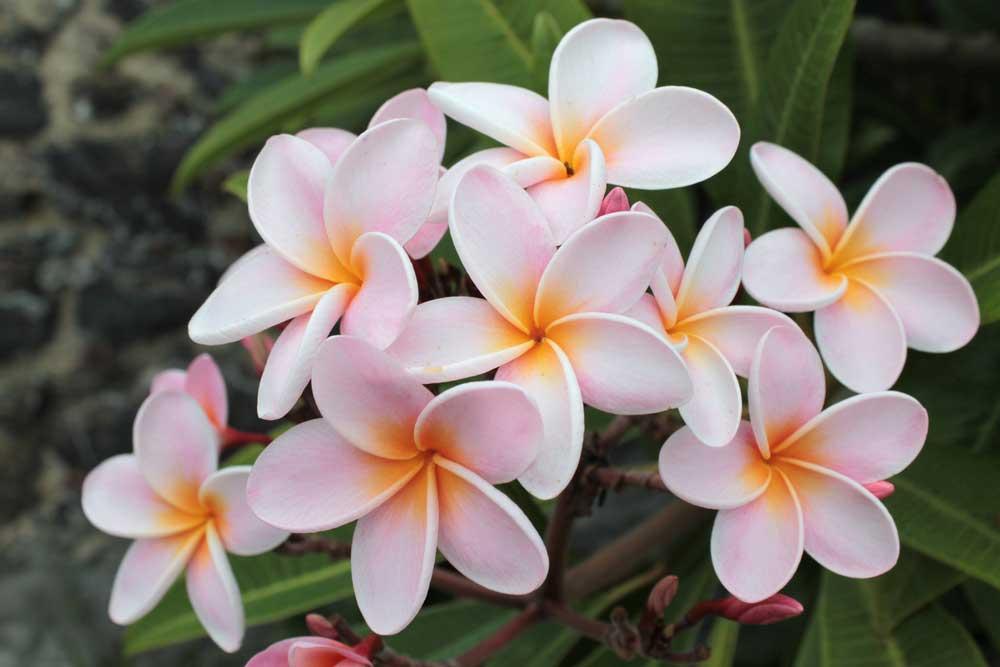
Learning how to propagate plumeria from cuttings will not only save you money. It also helps preserve rare or unique plant varieties.
Propagating plumeria is an effective way to produce healthy plants that are true to the mother plant. Additionally, it allows you to grow multiple plants from a single mother plant.
In this article, you will learn step-by-step procedures and everything you need to know to propagate plumeria from cuttings.
One of the best ways to grow new plumeria plants is by propagating them from cuttings. So how do you do this and at the same time ensure that the plant grows healthy? Follow these 9 easy steps:
Step #1: Choose a Healthy Plumeria Plant
Choose a branch that is at least 12 to 18 inches long and has no signs of damage or disease. The best time to take cuttings is in spring, when the plant is actively growing.
Step #2: Cut the Branch
Use a clean, sharp pair of pruning shears to cut the branch at a 45-degree angle. Be sure to cut just below where the leaves join the stem.
Step #3: Let the cuttings dry
Let the cutting dry for 3 to 7 days in a shady, dry area. This allows the cut end to completely form a callus. Doing so will help prevent rot and disease. So how do you do this? Follow these steps:
Step #4: Prepare the Container for Planting
Fill a pot or container with a well-draining soil mix. You can use a cactus mix or a perlite and peat moss mix.
Step #5: Plant the cuttings
Dip the cut end of the plumeria cutting into rooting hormone powder. Then plant it in the prepared soil. Plant the cutting deep enough so that it stands upright and stable.
Step #6: Water the cuttings
Water the cutting well, but do not overwater it. As a general rule, give it enough water to moisten the soil.
Step #7: Provide warmth and light
Place the container in a warm, bright, humid area. Keep the cutting out of direct sunlight, as this can cause it to dry out.
You can cover the container with plastic wrap to create a greenhouse effect and increase humidity.
Step #8: Wait for roots to develop
Cuttings may take several weeks to root. Gently check for roots by pulling on the cutting. If you feel resistance, roots have likely formed.
Step #9: Transplant the cuttings
Once roots have formed, transplant the plumeria into a larger pot or into your garden. Remember to acclimatize it to sunlight gradually.
Doing so will help prevent damage or sunburn. Here’s how you can do it:
Start by placing the cuttings in a shady area with indirect sunlight, such as under a tree or a patio cover. Leave the plumeria cuttings for about a week.
After the first week, gradually move the cuttings to a location with more direct sunlight. You can leave them in a partially shaded area for another week.
Gradually increase the amount of direct sunlight exposure over the next few weeks. Move the cuttings to a location with more sunlight each week until they receive full sunlight.
Once the cuttings have acclimated to full sunlight, they are ready! You can now leave them in the garden or in a pot on the patio.
Plumeria cuttings can last from a few weeks to several months if you store them properly and provide proper care during rooting and transplanting.
It is important to check the cuttings regularly and take steps to address any problems that may arise.
There may be several reasons why plumeria cuttings may not root. By identifying and addressing these reasons, you can increase your chances of success when propagating plumeria from cuttings. Here are some possible reasons:
We hope this article helps you learn how to propagate plumeria from cuttings. By selecting healthy cuttings and providing adequate light, you can increase the chances of successful rooting.
However, it is important to monitor the cutting regularly for signs of pests or diseases. Also, take appropriate steps to address any issues.
See also: Tips on How to Make Plumeria Bloom